
Introduction

Ah the horse...
As a preamble to the annual NSEC CTF the team released a hardware badge challenge that could be ordered before the event. Since this year's edition would be remote due to a small thing like a global pandemic and that I had never taken part in hardware hacking of this nature I decided to snag one up.
What follows over the next two articles illustrates the curiosity, joy, frustration, elation, rage, and finally relief of this journey. Having never stepped foot into the hardware arena I learned a ridiculous amount and this will not be the last #badgelife interaction I have.
I've broken down the writeup into two parts. The first, this article, will cover the first 9 badges which could be captured by direct interaction with the badge whether it be the game, the cli, or to my chagrin listening carefully on the network. I will present them in the numerical order that NSEC's FLAGBOT presented them rather than the order I captured them.
The second article will cover a deeper analysis of the firmware, the game's memory structure, and the eventual modification and flashing to the board to capture the elusive final 10th flag.
Initial Information
First thing's first let us figure out what we are working with. If we turn the badge around we get a bit of a better idea.
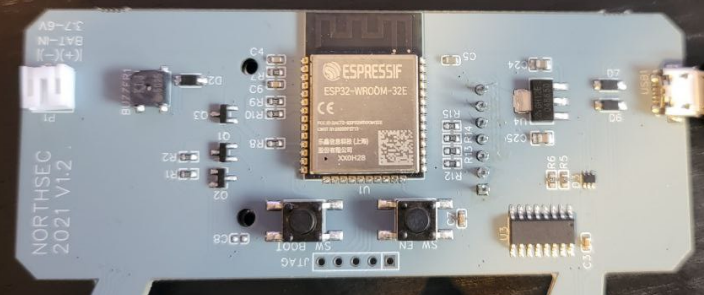
A quick search and we find out the badge is running on an ESP32 chip. Tiny but powerful it seems this badge should be capable of wifi and bluetooth connectivity. Let's keep that in mind as we progress.
Knowing what I do now I would have probably tackled the badge a bit differently, however being completely clueless and excited, I plugged it in and my journey to North Sectoria had commenced.

Serial Connection
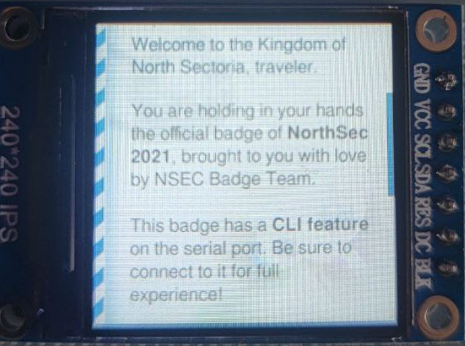
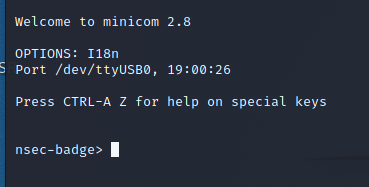
Before we move on to first flag we will connect to the badge's serial port. I initially ended up using minicom but ended up switching to picocom as there was a frustrating issue with flag 6.

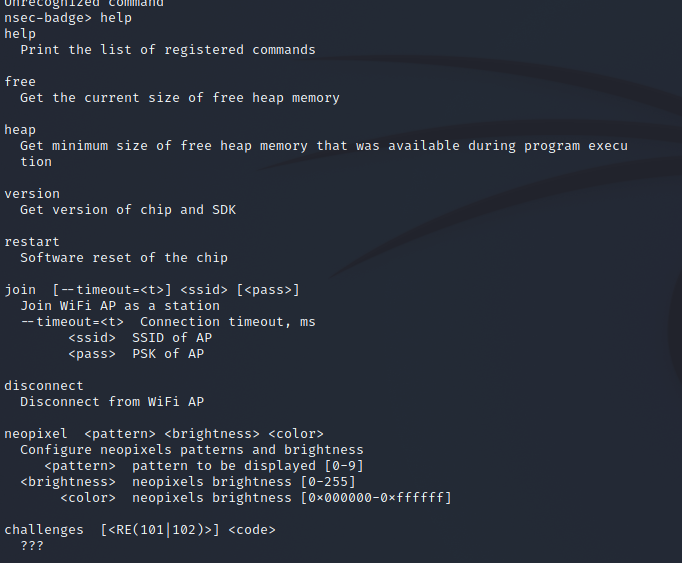
sudo minicom --device /dev/ttyUSB0And once properly connected I quickly took a poke at the options before continuing with the game.
Flag 1 - Gimme
The first flag was a gimme. It was meant to introduce you to the format of the badge, how to submit, and what exactly happens when you discover a flag in-game - namely having the flag icon go from grey to red. This information will be important shortly as we will see.

Flag 2 - RE101
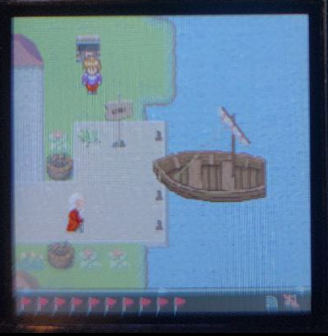
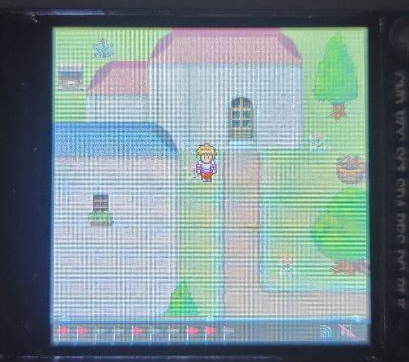
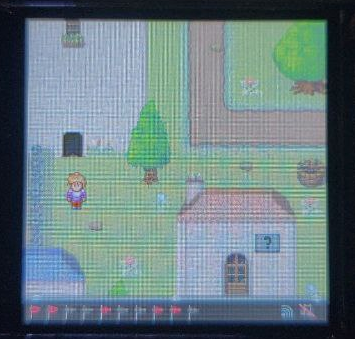
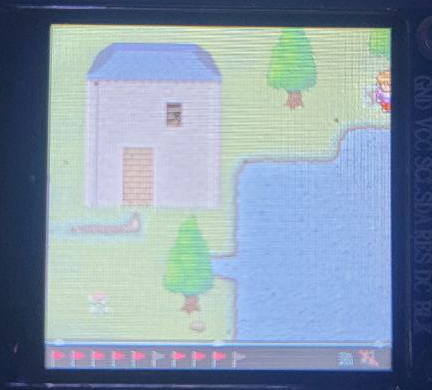
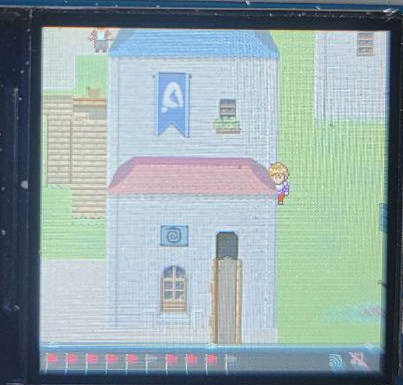
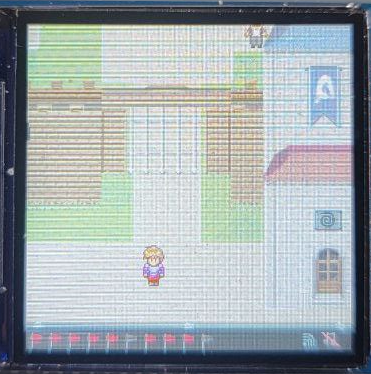
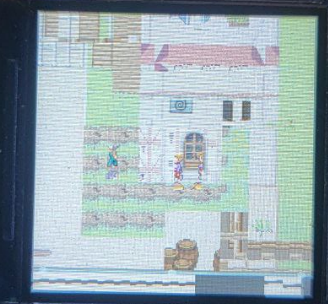
Ah to explore North Sectoria! The wonderful Information building, the mysterious Tom's hut, Marcus Madison bakery, our castle entrance seemingly blocked off... where to first? Let's go with Tom!
Wifi connection

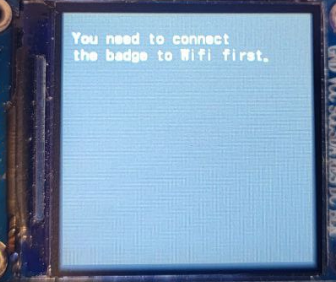
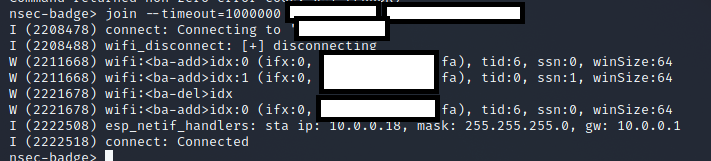
Well that's rude Tom... fine let's go get connected. There was a building near the start with a wifi symbol so that seems like a good target. Unfortunately it only allowed to toggle the wifi connection on and off, so I ended up having to connect using the serial connection.
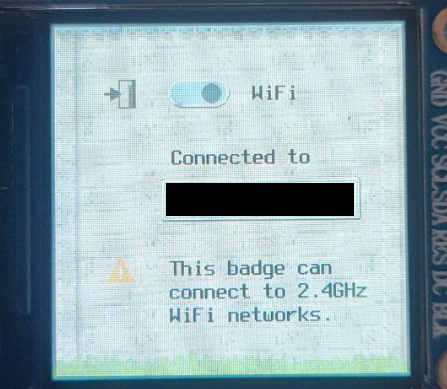
At this point the wifi shack shows us connected and allows us to toggle the status in game.
Let's go back to Tom's hut and see what have!
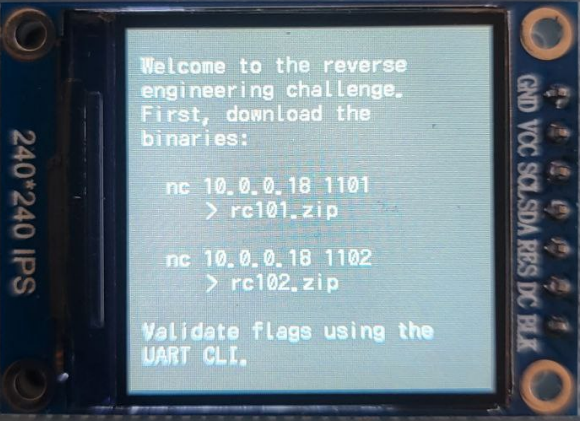
Alright that is something. Also explains why we needed a connection. They want us to download two zip files that should correspond to two RE challenges. Bring it on Tom!
Xtensa
Extracting the contents of both zip files we get two ELF files. Running some initial recon we can see that they are Tensilica Xtensa format. The first thing I wanted to do at this point was get the first elf imported to Ghidra. Unfortunately Ghidra did not have an understanding of what this format was and the result was less that useful.

A quick poke around the net and stumbled on to this Ghidra extension. Once installed we were good to go and the import went much smoother.
The first thing we needed to do was find the entry point and understand what the code was doing. Sure enough app_main was the intro function and the logic seems simple enough to follow even without fully understanding the Xtensa opcodes fully.
- Take user input
- Call verify function
- If verify works, load flag into register and print
- Else, jump to “nope_try_again” function
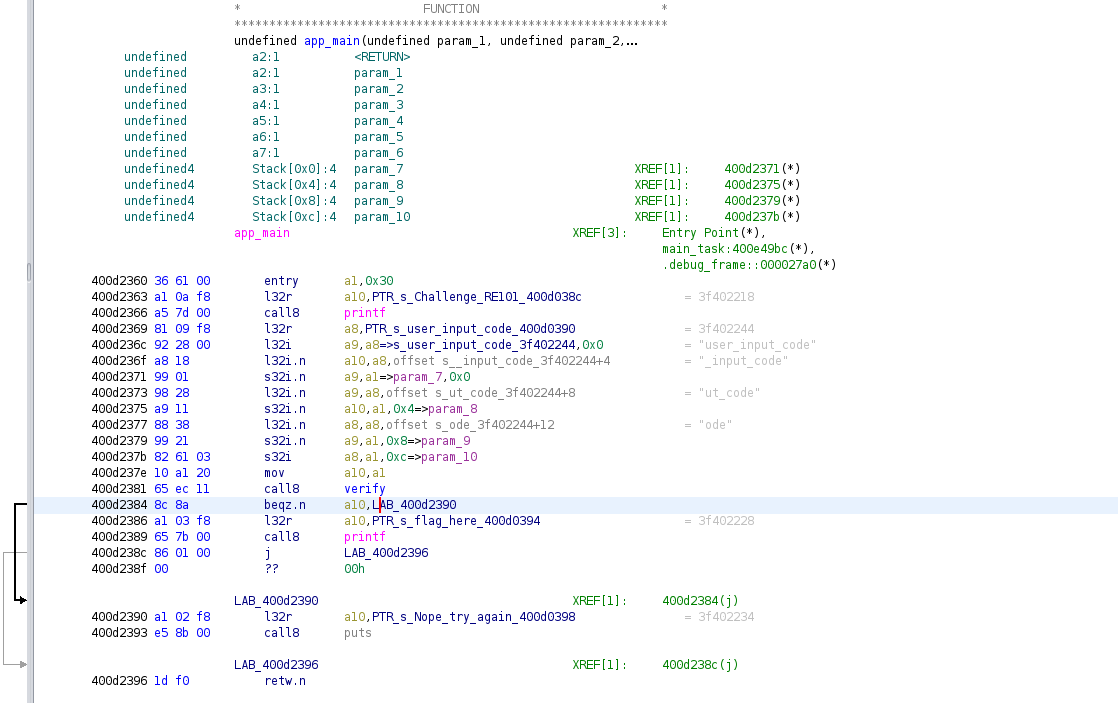
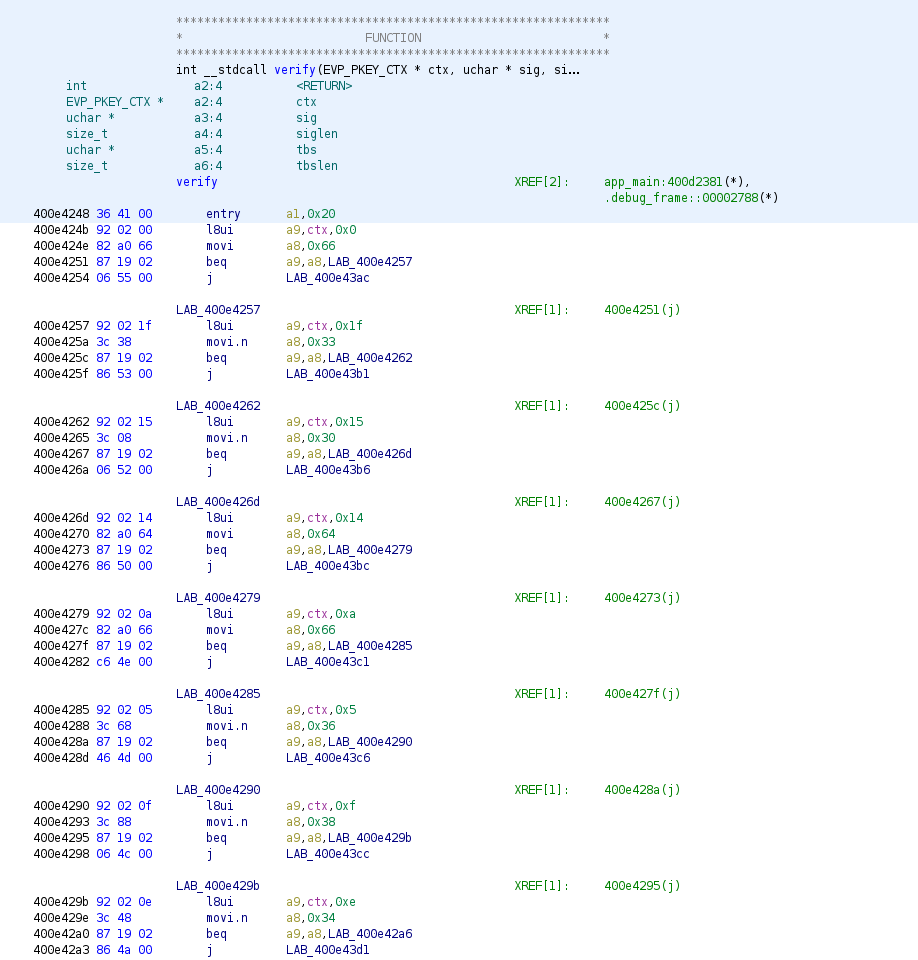
The verify function at first seems confusing, but ultimately the logic was straightforward.

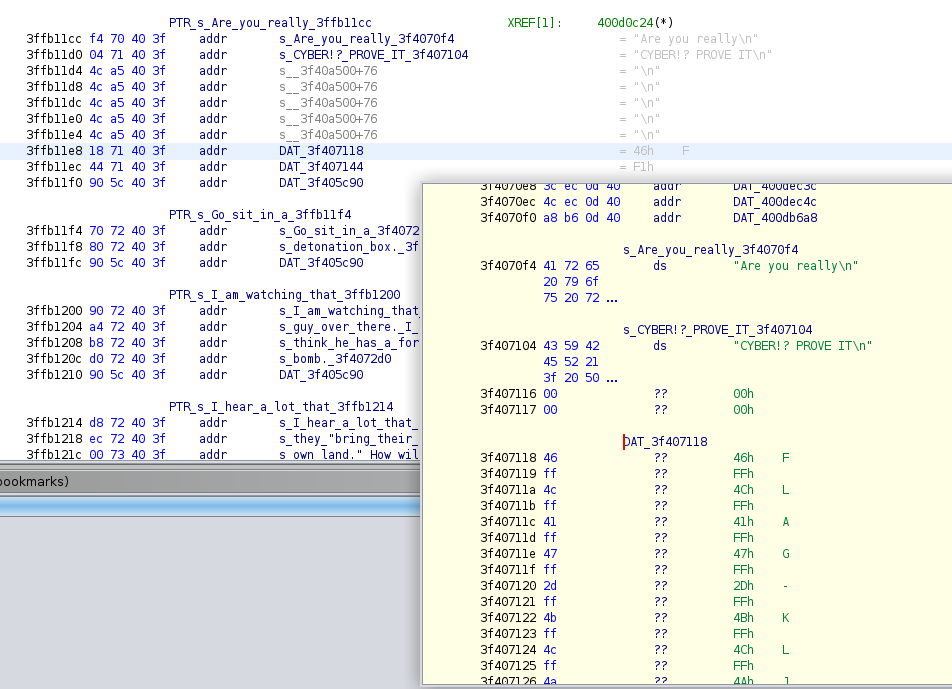
The stack offsets represented our final flag values. Starting at 0x0 and inscreasing by 0x4 each character we can see the function is validating our user input, a1, against values loaded to the various a8-a15 registers. This should be as simple as taking the values loaded into the registers and building the input one character at a time. Once we've stepped through the full iteration all that was left was to validate using the badge's CLI.

Flag 3 - RE102
The second RE challenge was much of the same. ELF in Xtensa format, app_main function and verify function.

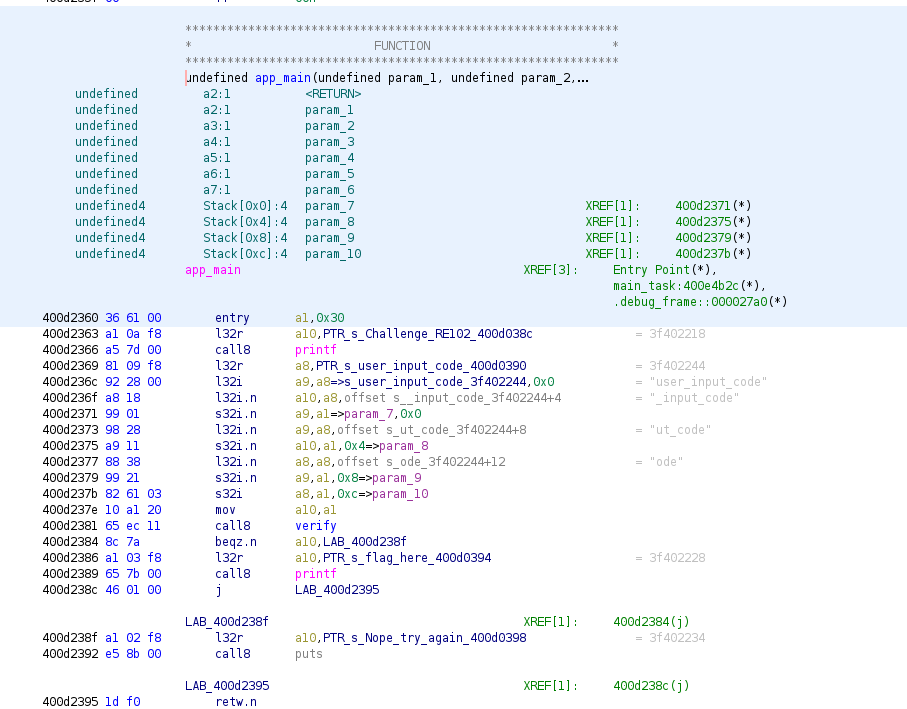
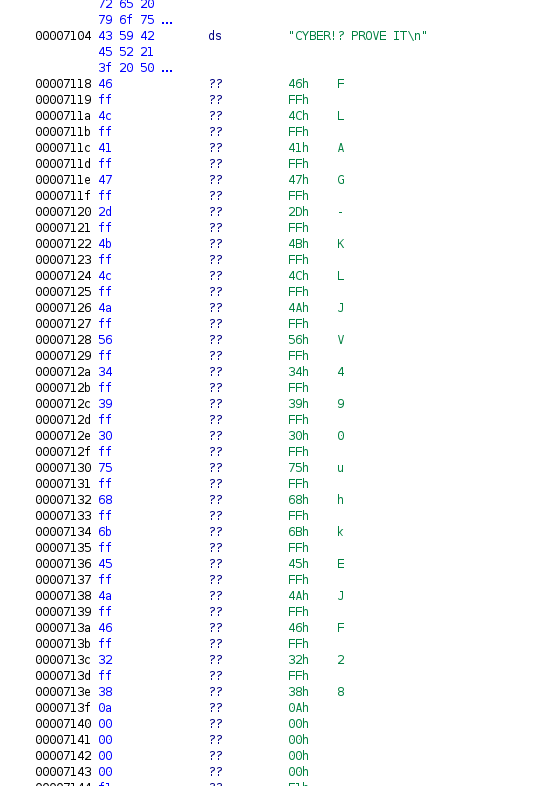
In this case we are starting at 0x0 with a9 and using a similar approach as flag2 of incrementing by 0x1 for each of the flag's characters. We start by comparing a9[0x0] with 0x66, or f in ascii, before continuing down the line.
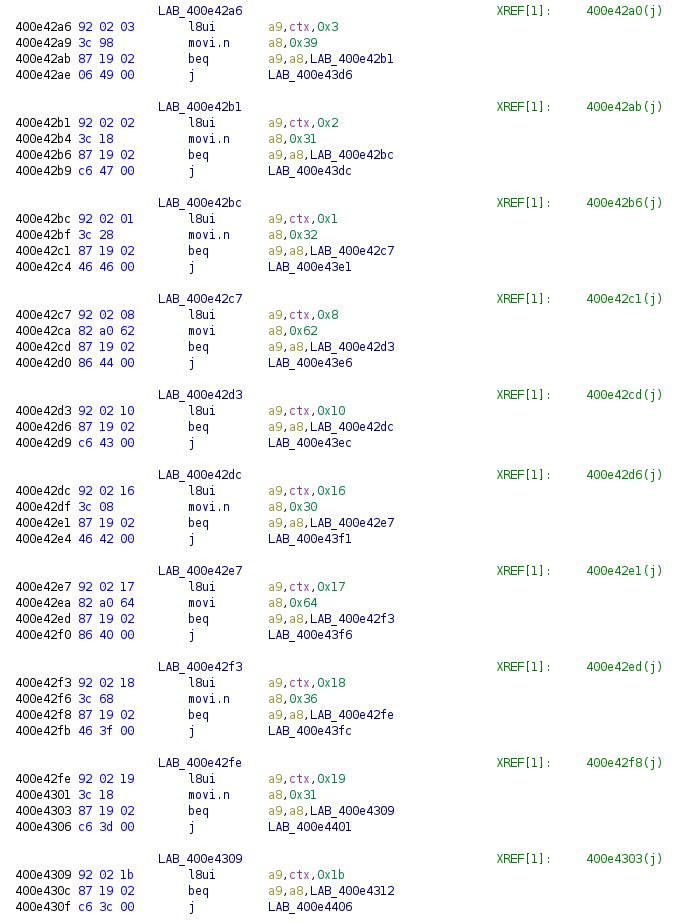
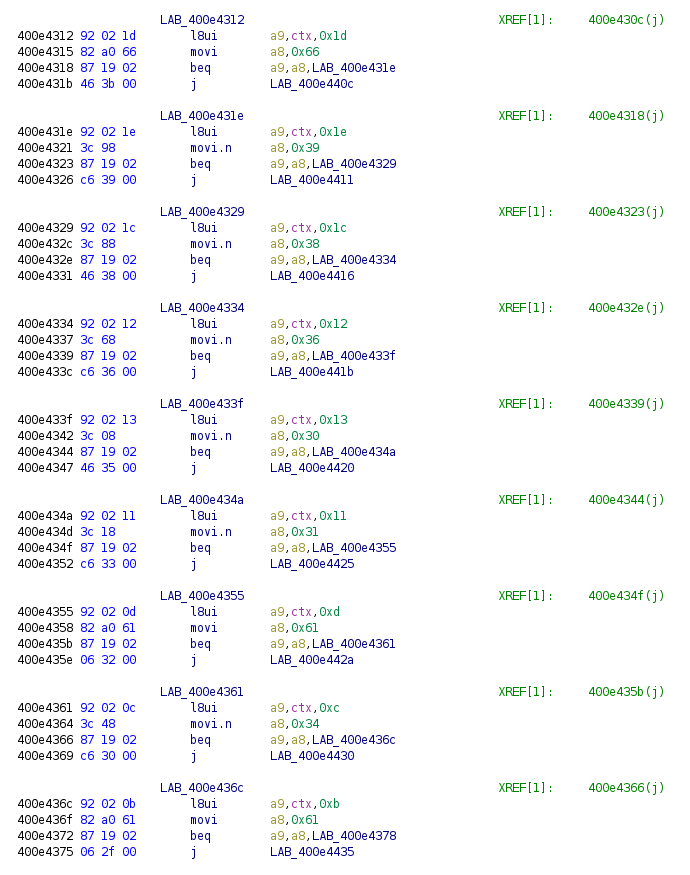
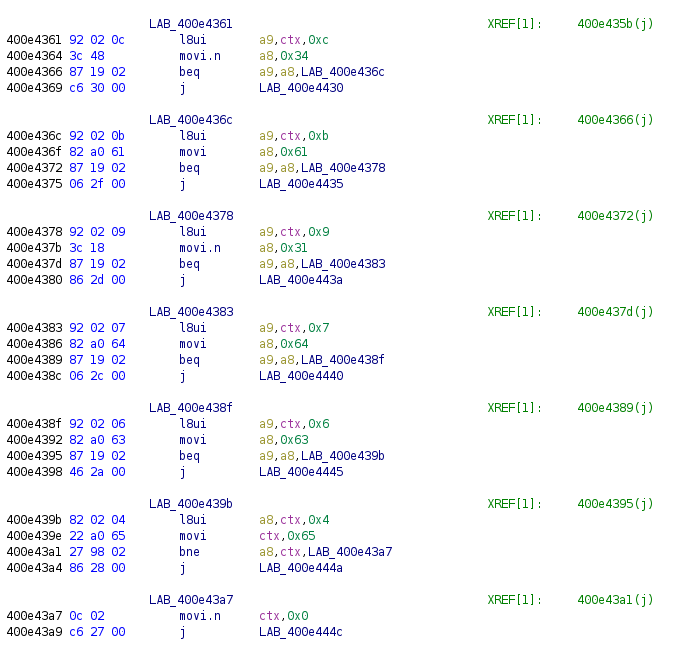
With a final flag being submitted through the CLI as well.

Flag 4 - Konami
Ah Konami code. I peppered this through various parts of the game - main screen, in buildings, in conversations, and it finally paid off. There was a flag chest on the top left area of the map that seemingly was blocked off.
Angela dropped an interesting hint about how we could reach it when talking with her. This was a nice touch throughout the badge where the NPC conversations may have appeared random but in reality were related to the various flags

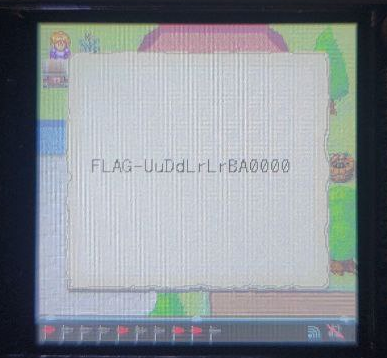
Suspicious indeed! When putting in the Konami code a magical door opens up for us!
Flag 5 - Blocked Map
The fifth flag is where things started going off the deep end for me. In reality you can solve this flag quite easily by just playing the game and paying attention to small hints. I however have a tendency of complicating things when approaching these problems.
Intended Solution
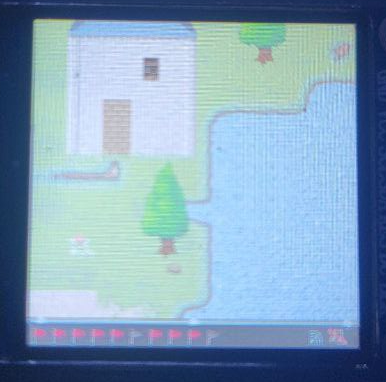
The first indication comes from seeing a tiny land mass at the bottom right of the map. Seemingly unreachable it stuck out as "why would that be there"? This was reinforced by Vicious' initial hint of perceiving that the landmass is there.
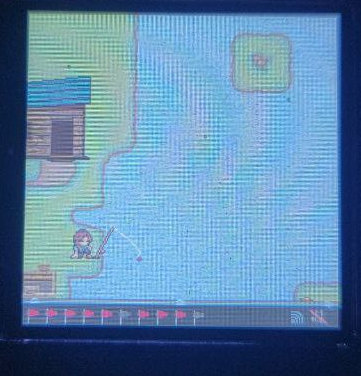
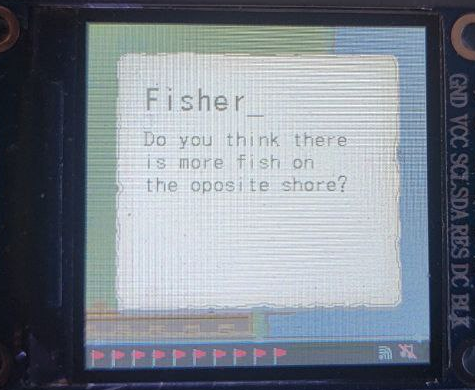
To add on to this one of the Fisherman's conversation points seemingly alluded to the land mass as well.
At this point I started looking in the most random places for a way to that landmass. I was thinking similar to flag4 there could be a secret tunnel and way to get to the island. After all another one of the villagers did mention a "secret underground"!
Since at this point in my adventure I had already dumped the firmware and explored that a bit I ended up taking a tangent in solving flag 5 by approached it with the alternate approach below. This was absolutely not required however as I realized I actually ran into the "secret" area by mistake early on and dismissed it...
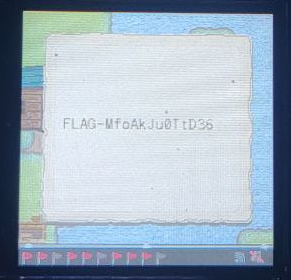
Then by proceeding off screen you could go the entire way down the map until you reached a hidden chest. Flag 5 complete!
Alternative Solution
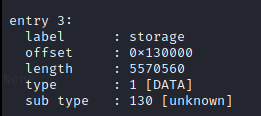
This followed dumping the firmware and looking through the SPIFFS storage partition. I'll keep the how I dumped the firmware for the second article, but all you need to know is that the firmware had a specific storage partition.
After extracting the binary portion of the partition I took a poke at it using binwalk. At first I thought I had hit jackpot but quickly realized it wouldn't be that easy.
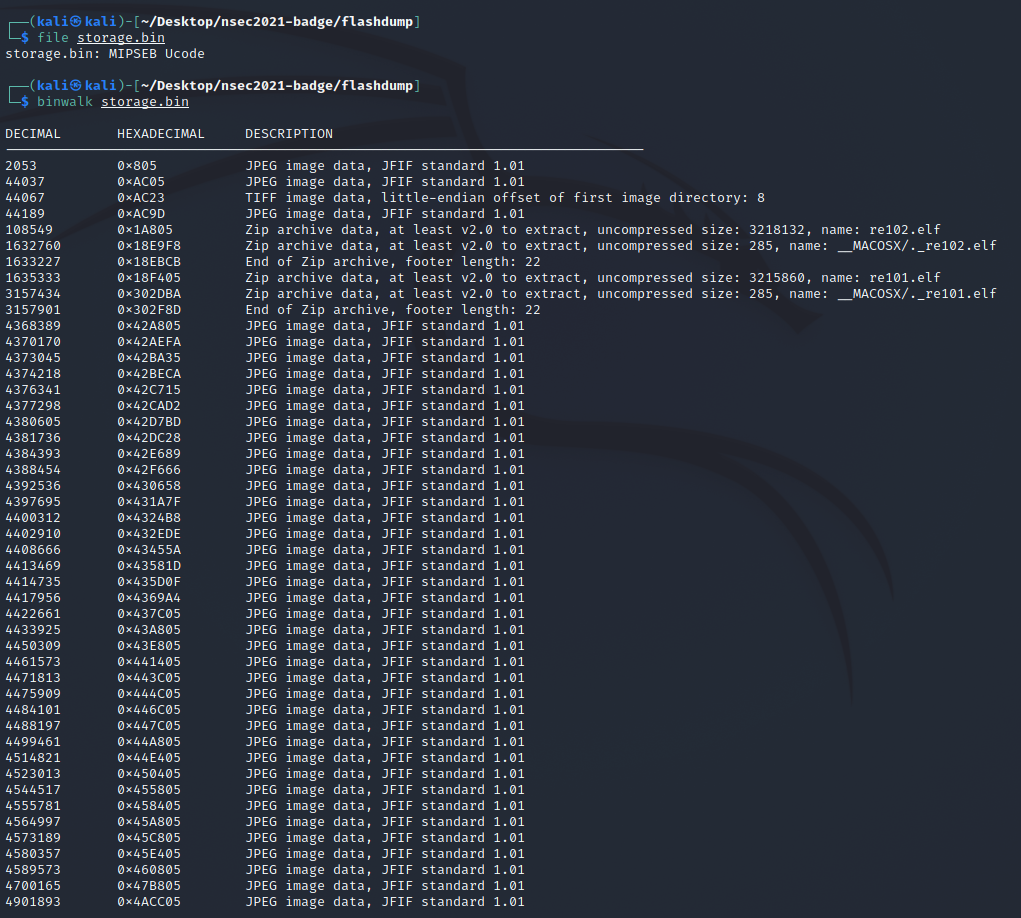
When trying to extract the files using binwalk I was running into weird corruption issues.
I spent a bit of time reading on how the storage partitions for ESP32 chips works and learned that we were working with a SPIFFS Filesystem. This makes sense why binwalk could recognize some of the file headers and list them out, but due to the SPIFFS block and page sizes it wasn't able to extract properly. To do so we would need a utility like mkspiffs.
Unfortunately there were many configuration option possibilities during both the mkspiffs build and when trying to extract the filesystem - neither of which had obvious tells off the bat. One of the intial investigations involved going through the hexdump of the partition. At this point I did notice an interesting pattern.
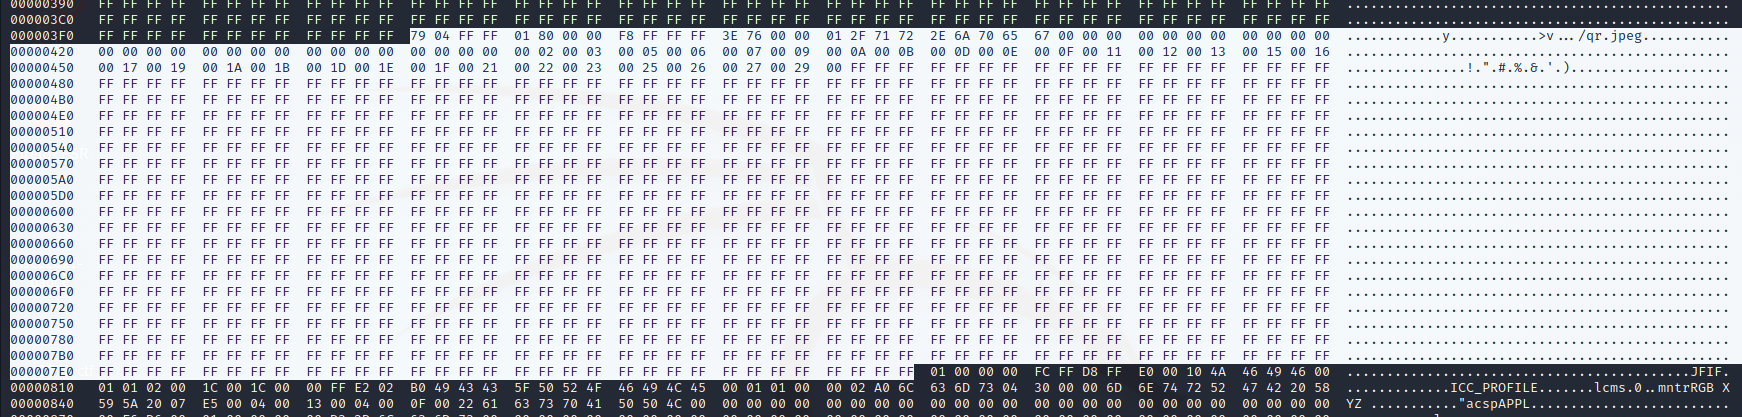
It seems like there is a repeating pattern every 0x400 bytes where it is 0xFF padded. This ended up being the page size of the page - 1024 bytes. Great one step closer!
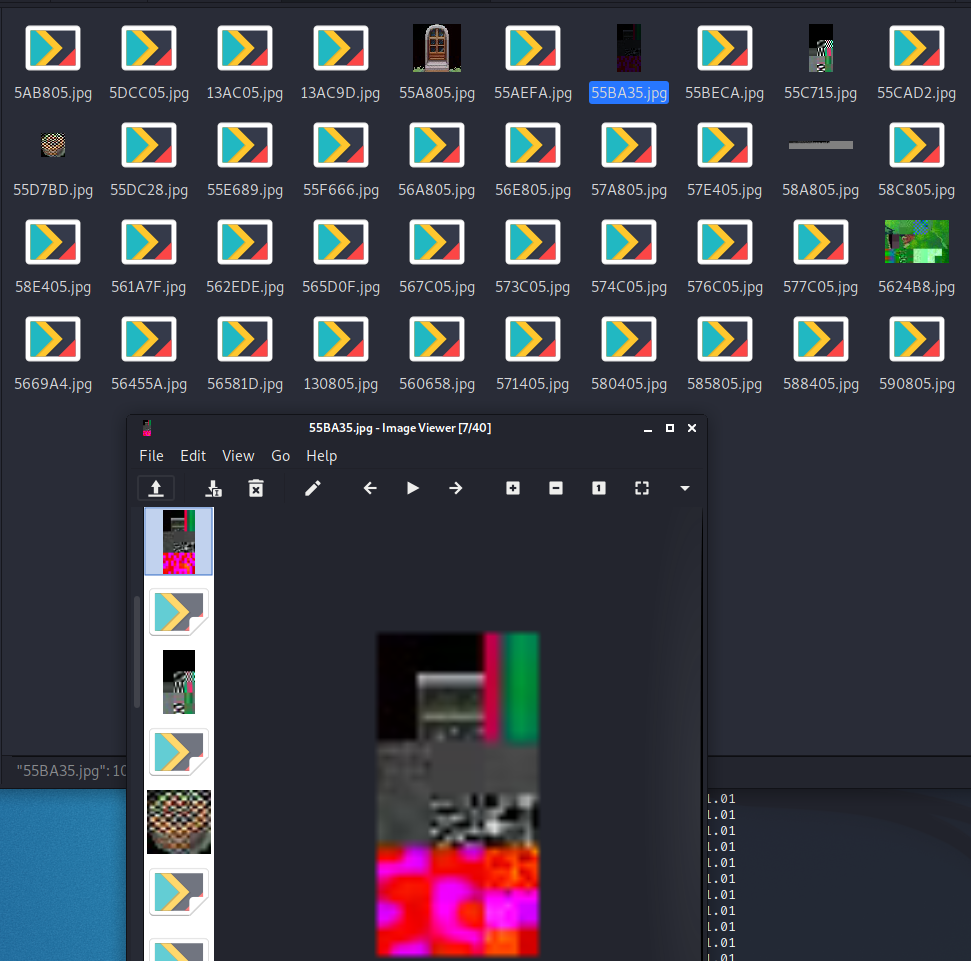
After a bit of discussion with other #badgelifers I had the right build options for mkspiffs. I built the tool locally and passed it a page size of 1024. Lo and behold the extraction worked!
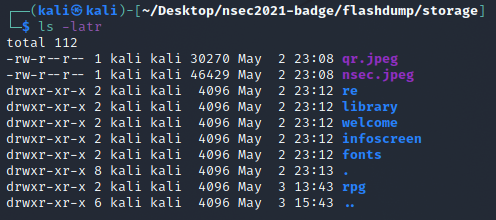
At this point it was a matter of going through the material and trying to understand if there was anything useful. Maybe an image file indicating a door could be opened, or a secret flower pot?! It didn't seem like that was the case, but there was an interesting folder under rpg that had a main.scene and main.blocked file.
It took awhile to understand but after I loosely calculated the amount of tiles in game I started realizing that the blocked file was being used to determine enterable and "blocked" areas of the map!
The blocked file was exactly 5000 bytes. If we look at it in bits - 5000*8 = 40000, that comes out to a nice round number of 200 by 200 tiles, which came out close to our manual estimations!
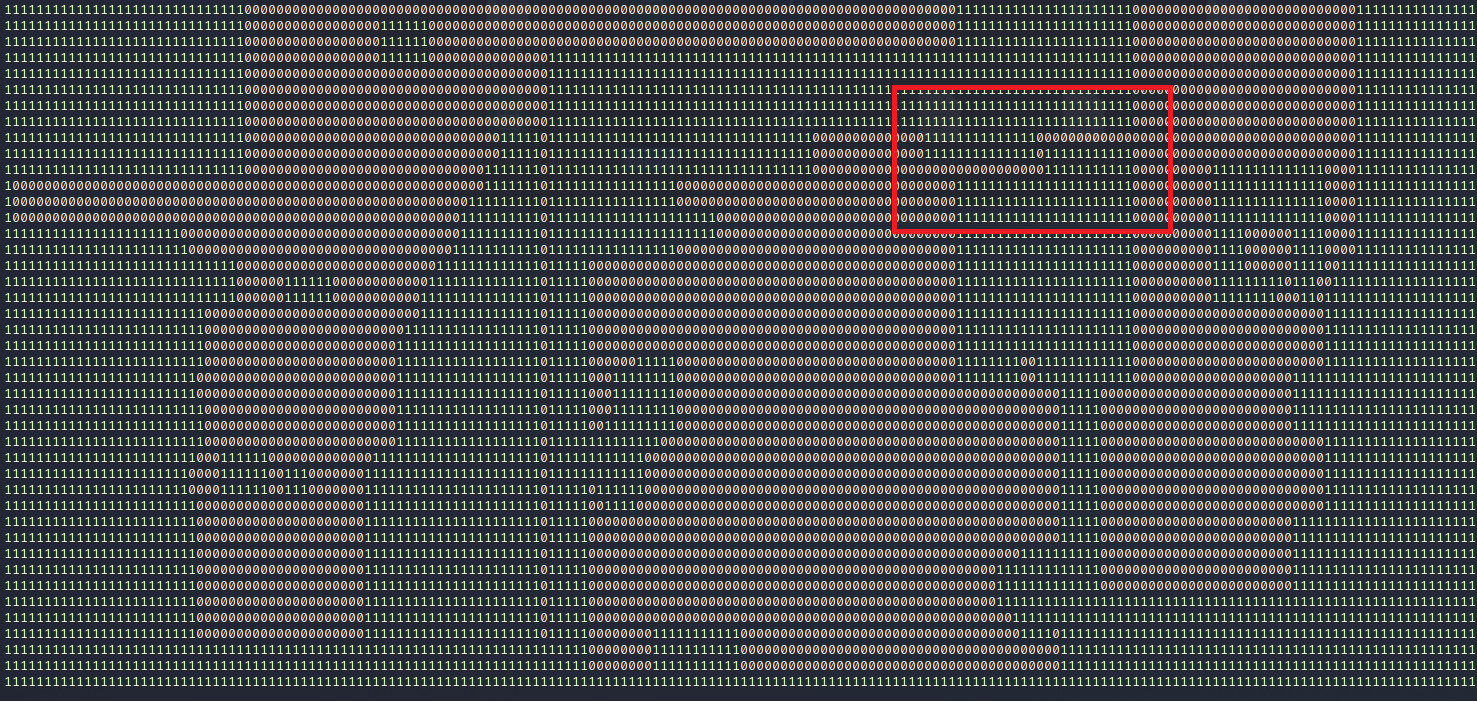
What was left was to try and print out the map and see what we could find.
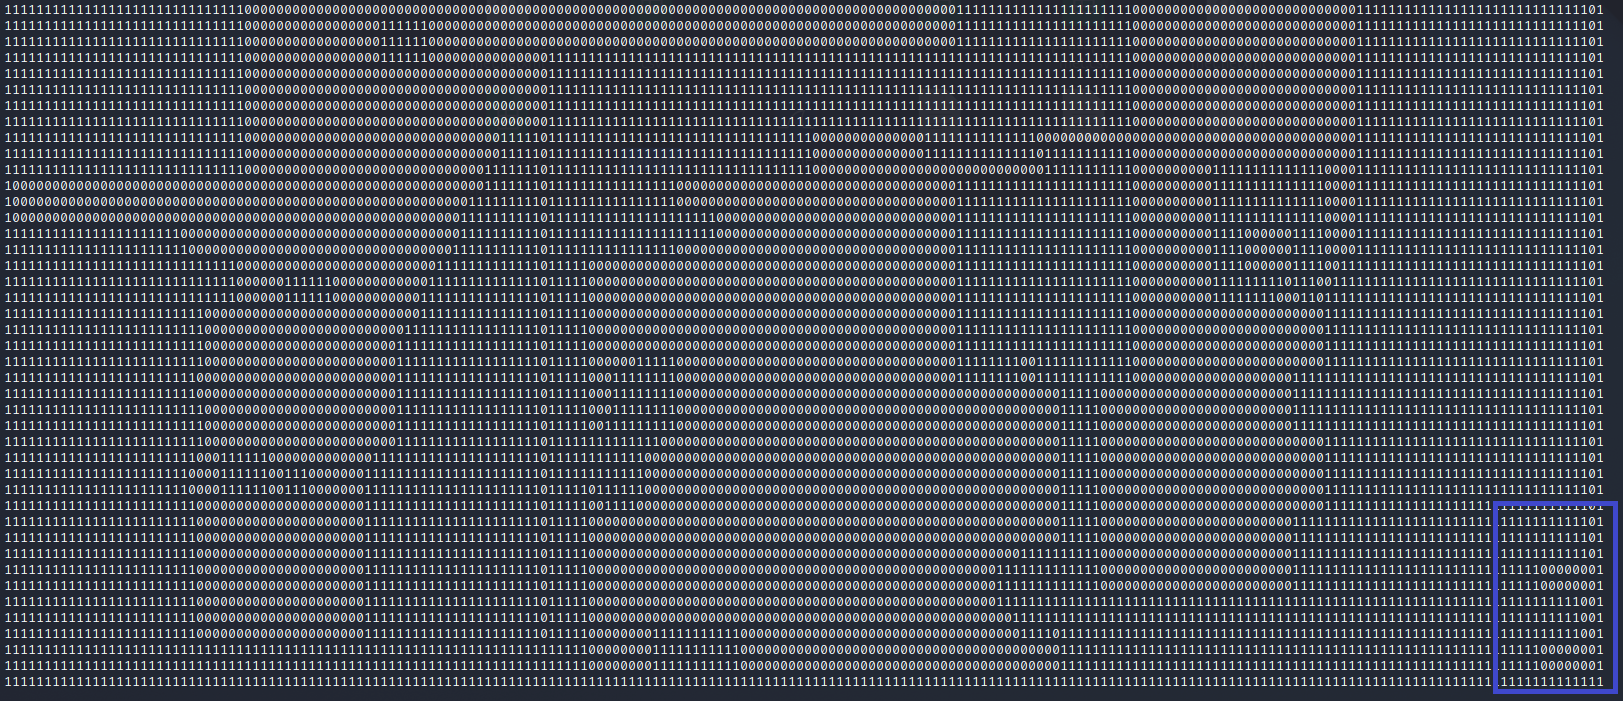
Yes! We can see our island area at the bottom right of the map, and even better seemingly a path leading north. If we follow it top the top of the map we can find the secret entrance.

Flag 6 - Quack
This flag tested how perceptive you were while working with the badge. Seemingly randomly participants would realize a new badge popped up on the UI. But while the flag was seen as captured, there had been no flag text shown, nothing to submit to flagbot in the NSEC discord...
Thankfully I would be working on the badge while I had the serial connection in the screen in front of me. This ended up being paramount to seeing flag 6.
When the mysterious flag appearance occured for me I was able to narrow it down to about 5 actions I had taken. I had walked through the middle market area, talked with a few villagers, and visited "lac du quack".
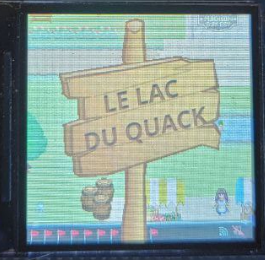
Retracing my steps carefully I noticed when I tried talking with the duck my serial console flickered. This seemed weird and after confirming the behavior happened every time I talked with the duck I knew I should investigate further. I setup my minicom terminal to dump all output to file and repeated the process. This time I managed to catch that ellusive duck quack!
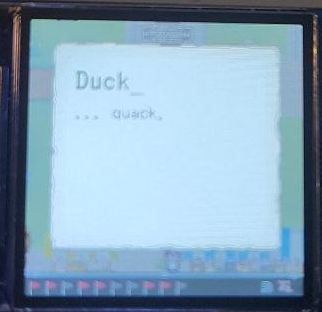
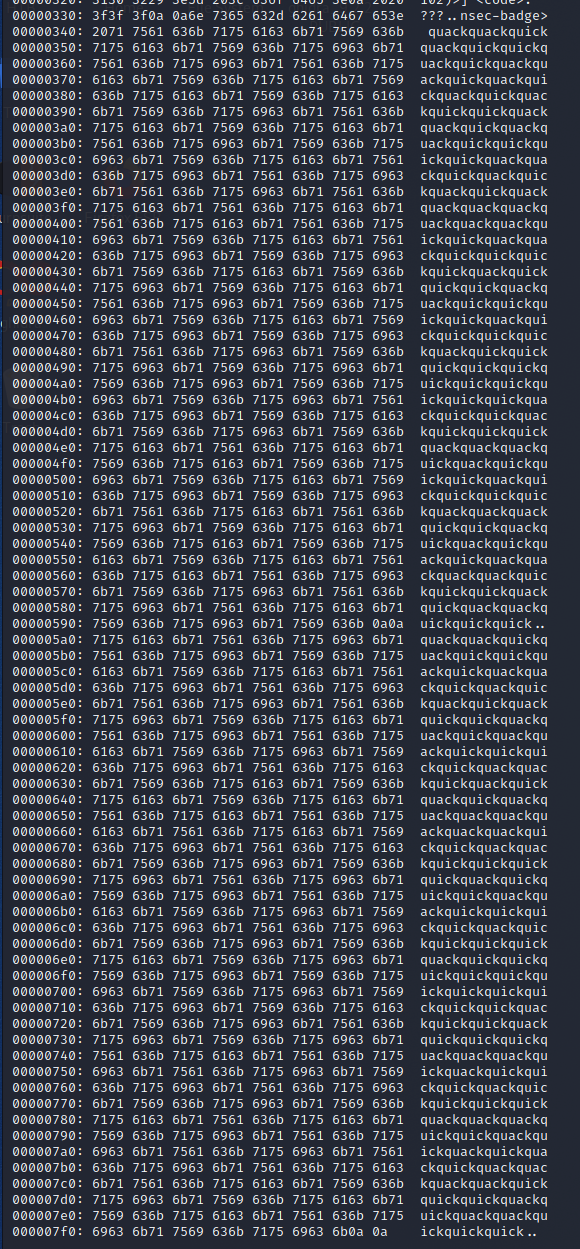
Looks like a cipher to me. I ended up going through the most obvious possibilities, but nothing was making sense. The fact that "quick" was used also made me think of potential morse code usage, but without spaces this wouldn't really work.
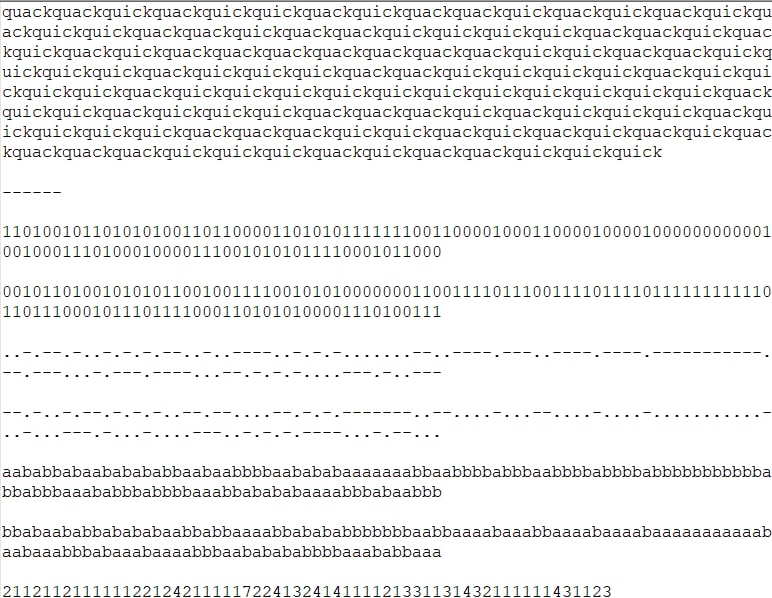
As it turns out my hunch was right, it was just an issue with minicom and how it interpreted data. After a quick discussion with the mods they suggested I try a different serial connection - enter picocom. Repeating the cycle with picocom we see a slight, but definitive, difference.
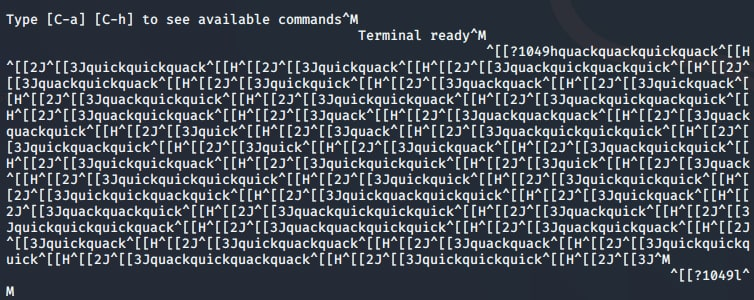
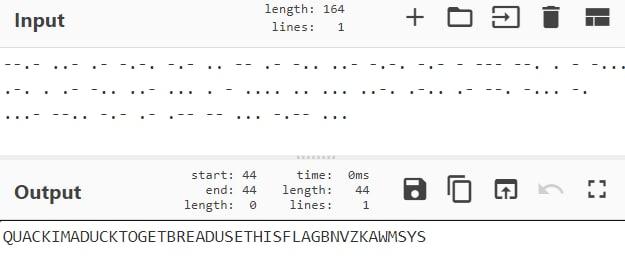
My hunch was right! Using ^[[H^[[2J^[[3J (which is the "clear" control sequence, explaining the seemingly empty serial output) as the morse code delimiter we are able to finish up the decoding.
Flag 7 - Punk
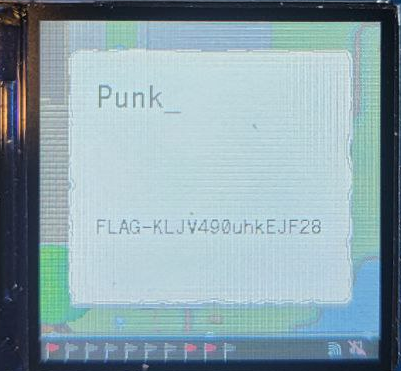
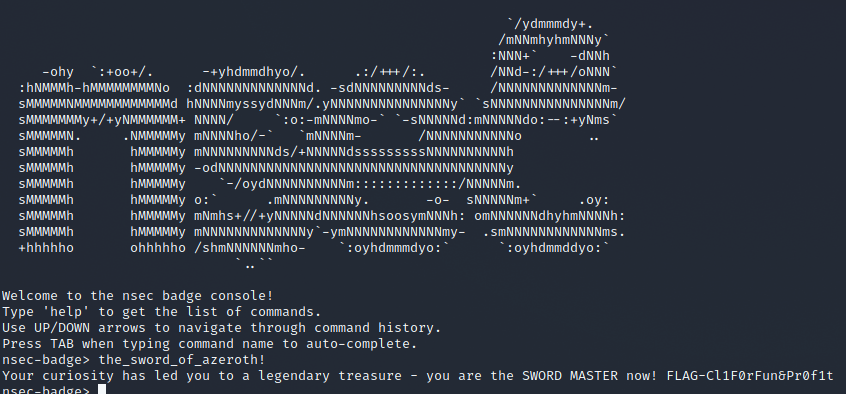
I solved this one accidentally while spamming the konami code almost everywhere. When talking with the Punk and getting half way through the konami code I was instantly presented with the flag.
Alternative Solution
Once you had the firmware dumped there were a few extra ways of finding this flag. When looking at the NPC conversations you notice that the Punk's conversation doesn't include multiple options as everyone else, and there are newlines included before eventually printing the flag. This explains how when going through the Konami code and getting to "down" that I was able to see the flag.
Flag 8 - Secret CLI
Another flag where I was probably my own worst enemy. I solved this one only after having dumped the firmware, and I definitely went on some crazy tangents trying to piece together the secret CLI call from the code.
When looking at the serial command options we noticed there was a "???".

Intended Solution
Now this was actually incorrect as it's a sub-option for the RE option... but it set me off the path to dig into the code and shed some light. I'll share in the alternate section that hunt.
The obvious hint I missed was something presented when you were connected through the serial port during a badge reboot. When that was the case you would be presented with some additional information. One being a big glaring hint.
Auto-complete you say? Should have seen that sooner... going through each character and pressing tab we are eventually rewarded at 't'.
Alternative Solution
I lost a lot of time digging into the firmware trying to find the reference to this mythical secret command. I was able to initially find where our CLI commands were being registered.

Even finding exactly where the hidden_cmd was registered.

It turns out that the hint_cmd was something that slipped through QA and shouldn't have made it into the badge. An interesting easter egg left to confuse those easily confused like me.
Unfortunately my poking wasn't returning anything further and I ended up solving the flag the intended way with auto-completion.
Flag 9 - Noisy Network
Ah flag 9... my nemesis. This was actually the very last flag I capture during my time with the_horse. I had already reverse engineered the NVS partition and modified the flag save states giving myself all 10 flags (essentially solving the 10th flag, tacking on the 9th while we were at it) and yet the proper way of doing this was eluding me.
The frustrating part is that the solution to this flag was something I identified and dismissed on the very first day.
When I first got the badge and realized I had to connect it to wifi I got curious and popped open wireshark to see if anything interesting was being broadcasted. In my naivity I dismissed noise I was seeing and moved on with the rest of the badge challenges.
My mistake was forgetting that I had used a second wifi card in promiscuous mode to do the sniffing. Of course the 802.11 traffic I was seeing in wireshark was gibberish I wasn't on the same network and the traffic was encrypted!
After several days of trying to turn over every rock (and hints from Vicious) I went back to the network angle. This time realizing what my mistake was during the early days I connected the_horse to my machine directly. Sure enough this changed everything.
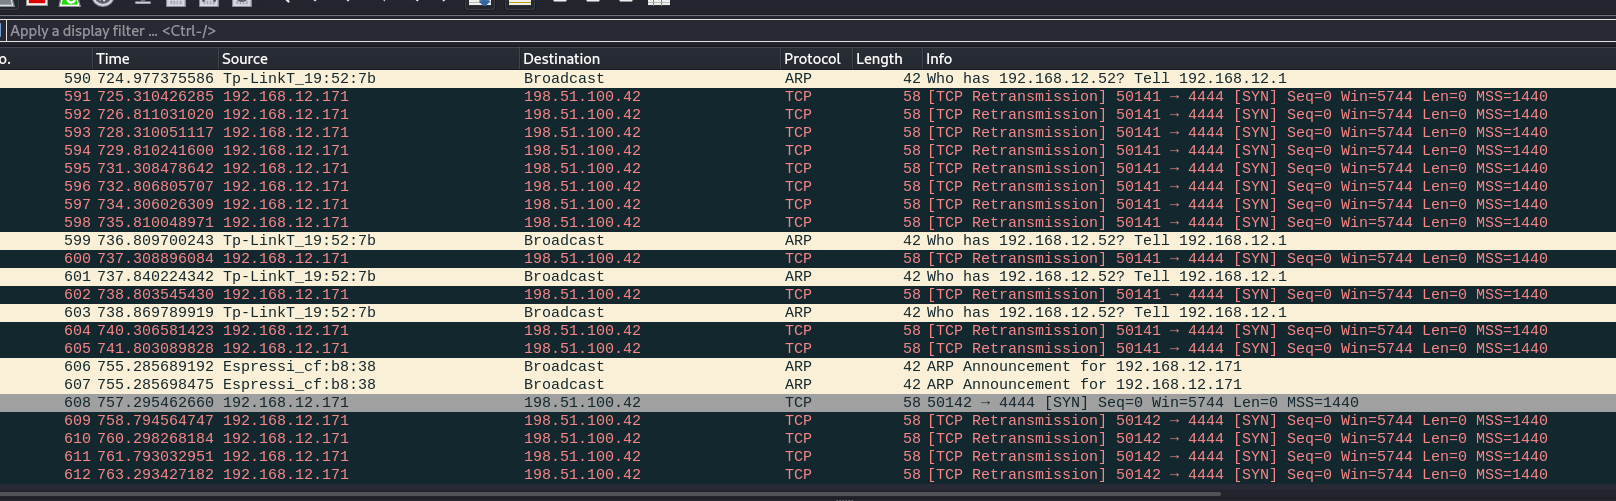
For reference my badge's IP was 192.168.12.171 at this point. This output clearly shows an interesting behavior. I wonder why it is trying to reach out to 198.51.100.42 and especially on port 4444... reverse shell listener anyone?
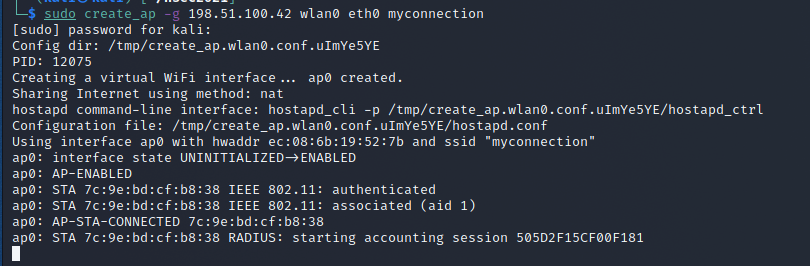
Since I was using create_ap to get the badge connected to my instance it was trivial to pass it a specific IP configuration. If the badge wants to connect to this address let's give it a path!
We also need to setup a listener locally on port 4444 to see if the badge does anything interesting once it reaches the destination. Sure enough within a few seconds both wireshark and our listener get a hit.


Relief! I think I actually jumped in my seat a little bit when this flag popped. Several days of thinking I'm going crazy finally paying off.
Bonus - Castle Area
There was an entire castle area that seemingly we could not get into. While solving flag 5 the "alternate" way I noticed something interesting in the blocked output.
Is that a walkable path into the castle?!
Sure is! Unfortunately at the time I was still looking for the final flags and there didn't end up being any in the area. There was however a very interesting spiral door. When trying to enter it I had a minor heart attack thinking I had messed up my badge.
Thankfully this ended up being an intended easter egg by the devs. A quick badge reset and I was back to normal. While not part of the flag capturing journey directly this was a nice little side addition if for nothing else to keep us on our toes.
Summary
Wow what a time. As a first time #badgelifer I really enjoyed the entire journey - frustration, excitement, relief, and confusion included. I ended up learning a lot about hardware and badge hacking in general and as the second article will hopefully convey, a small understanding in the ESP32 architecture and IoT in general.
I can't thank Vicious, Tom, and the entire team enough for putting this together. The entire adventure was high quality and even tied in directly to overall NSEC 2021 North Sectoria theme, making it all the more special. They set the bar high with this edition and I can't wait to see what's in store next year.
As always thanks folks, until next time!